Welcome to Tutorial 2 in the series of UFT tutorials. In Tutorial 1: Getting Ready To Learn UFT, we started with the introduction to software testing and the need for software testing. We discussed automated software testing and when should we automate software testing. In this tutorial, we will start with detailed introduction to UFT.
After downloading and installing UFT, we will discuss in detail about various windows shortcuts and start-menu options that are available in UFT.

This series of UFT tutorials is created for the latest version of UFT which as of February 2025 is 2023. The tutorial will be demonstrated on the latest version of Windows which as of February 2025 is Windows 10. UFT 2023 works fine on earlier versions of Windows OS like Windows 8.1/8/7 as well. UFT 2023 is, however, not compatible with Windows XP.
Introduction to UFT
Unified Functional Testing commonly known as UFT is a functional testing tool by Hewlett Packard Enterprise (HPE). UFT can be used to test GUI as well as API part of your application. The latest version of UFT is 2023. Before UFT 11.50, there were two separate tools HP QuickTest Professional (QTP) for GUI functional testing and HP Service Test for API functional testing. With the launch of UFT 11.50, HP combined both tools together and named the combo Unified Functional Testing.
The first series of these tutorials will deal with the GUI testing part of UFT tool. In the second series we will learn about API testing.
Let us start by installing the UFT tool on your system. According to HPE, these are the minimum system requirements for UFT you need to have on your machine to install UFT. We would recommend to always have a better than required minimum configuration.
- Computer/Processor: Dual Core CPUs or better
- Operating System: Windows 7 SP1 (32 bit or 64 bit)
- Memory: Minimum of 2 GB when no more than three add-ins are loaded simultaneously. [Additional memory is required when loading more add-ins and when using the Save movie to results option to capture movies during run sessions.]
- Color Settings: High Color (16 bit)
- Graphics Card: Graphics card with 64 MB video memory
- Free Hard Disk Space: 1 GB of free disk space for application files and folders. [You must also have an additional 120 MB of free disk space on the system disk (the disk on which the operating system is installed).]
If you already have the minimum requirements fulfilled, take help of this article to download and install UFT. Make sure you follow all the steps mentioned diligently. Once UFT is installed, come back to follow rest of the tutorial.
UFT Desktop Shortcuts
Once UFT is installed, you will find these three shortcut icons on your desktop.![]()
First shortcut – HP Unified Functional Testing – will launch the UFT tool on your system.
Second shortcut – Run Results Viewer – will launch the run results viewer on your system. While run results can be automatically set to open once a test is finished, you can also open run results individually using this shortcut.
Third shortcut – Edge Agent for Functional Testing – would only be installed on Windows 10 machines. It won’t get installed on Windows OS 8.1/8/7. If you want to test your applications on Microsoft Edge browser, you should use this icon and not the default Edge browser icon on your Windows machine. Having said that, as of September 2016, UFT is not completely compatible with Edge, we would strongly recommend you to use IE 11 for recording and running your UFT tests. IE 11 is present but hidden on all Windows 10 machine, use these instructions to make IE 11 a desktop shortcut on Windows 10.
UFT Windows Start Menu Options
Let us learn more about the menu options available under Windows Start menu.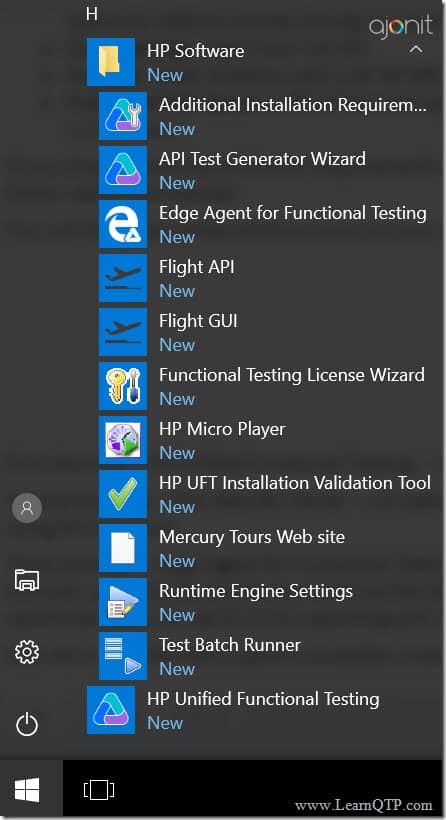
Once you click the Windows start logo and scroll up the Windows 10 start menu, you will find a folder named HP Software. Click on this folder and you will find several new menu items inside it as shown above. Let us go through each of these items one-by-one.
Additional Installation Requirements: 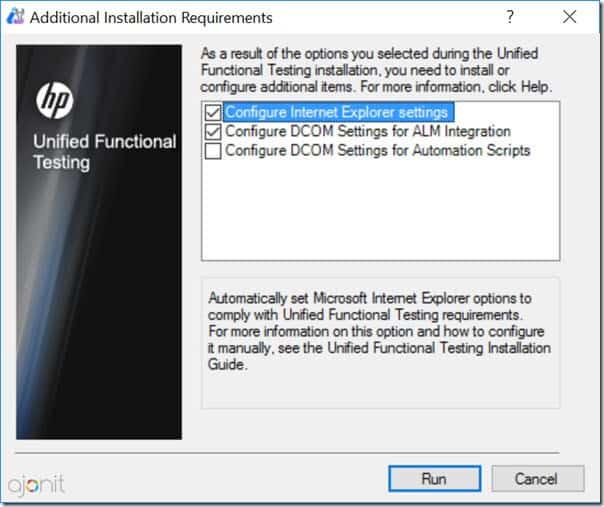
Additional Installation Requirements screen pops-up during UFT installation time too. The first two settings are checked (and installed) by default unless you manually choose to uncheck them.
- Configure Internet Explorer Settings: Enables use of UFT’s third party browser extension in Internet Explorer. This is a must if you want to test your web applications on IE.
- Configure DCOM Settings for ALM integration: If you need to run your scripts from HPE ALM tool, you need to check this option. This option changes DCOM permissions and opens a firewall port on your machine.
- Configure DCOM Settings for Automation Scripts: If you need to control and run UFT installed on your machine from other machines, you need to check this option. This is done using Automation Object Model. This is a advanced topic which we will learn in detail in the later tutorials.
- Download and Install Microsoft Script Debugger: This used to be a setting in earlier versions of UFT. Since Microsoft has removed Microsoft Script Debugger utility from its site, HP has removed the option from this screen. Till the time Microsoft fix this issue, you need to rely on other means to install this utility. Check this article on how and where to download MS script debugger.
API Test Generator Wizard: This is a wizard which helps you generate API tests from your services.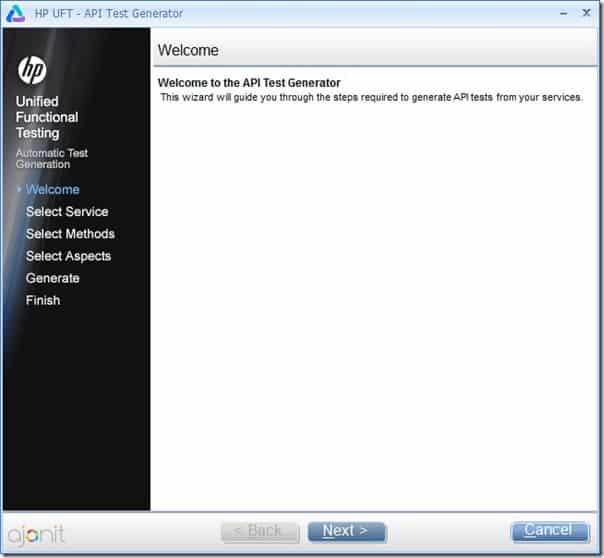
Edge Agent for Functional Testing: This is required if you want to test your web applications on Microsoft Edge browser. As mentioned above, Windows 10 is the only OS where Edge Agent is installed automatically. Additional Reading: All About Edge Support with Windows 10
Flight API: This is a sample application provided by HPE for API testing.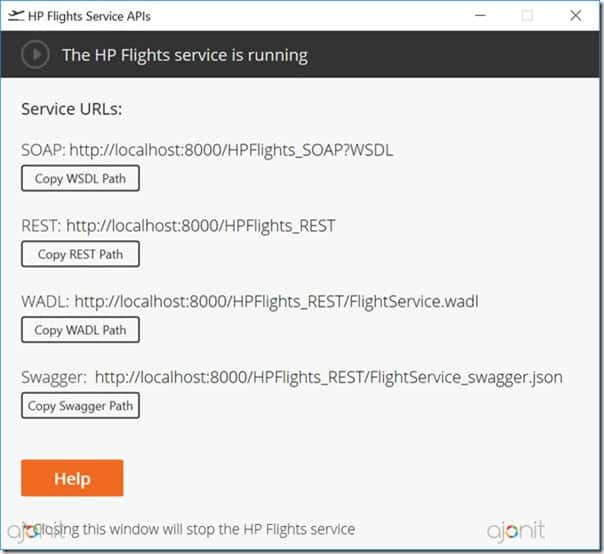
Flight GUI: This is a sample application provided by HPE for GUI testing. Credentials to login to this app are: username:john & password:HP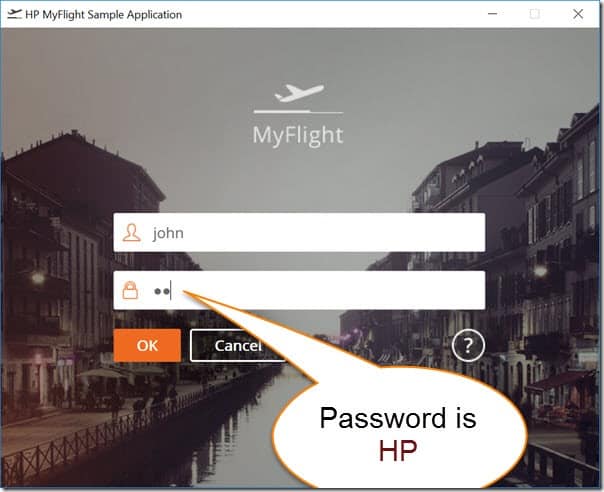
Functional Testing License Wizard: Use this wizard to install and manage seat license or concurrent license on your machine. Here is an in-depth guide on licenses in UFT.
HP Micro Player: UFT enables you to record, run sessions as video clips. These clips are stored as .fbr files. HP Micro Player is a standalone micro player which enables you to watch these movies.
HP UFT Installation Validation Tool: Run this utility and hit ‘Analyze’ button to get a complete inventory of your system settings which are required for UFT. 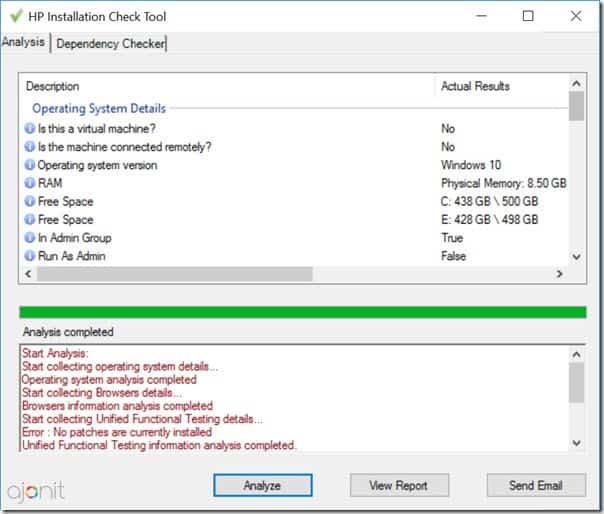
Mercury Tours Website: This is a link to web based demo application provided by HPE. http://newtours.demoaut.com/
Runtime Engine Settings: The UFT Runtime Engine enables you to run UFT GUI tests, API tests and Business Process Tests on your computer without installing the entire UFT IDE. With Runtime Engine Settings dialog box, you can import, export settings from/to a vbs file, reset to a factory default state or change the settings individually. This engine does not require a separate license and it is ideal for non-technical users of the product who just want to run previously developed UFT scripts. 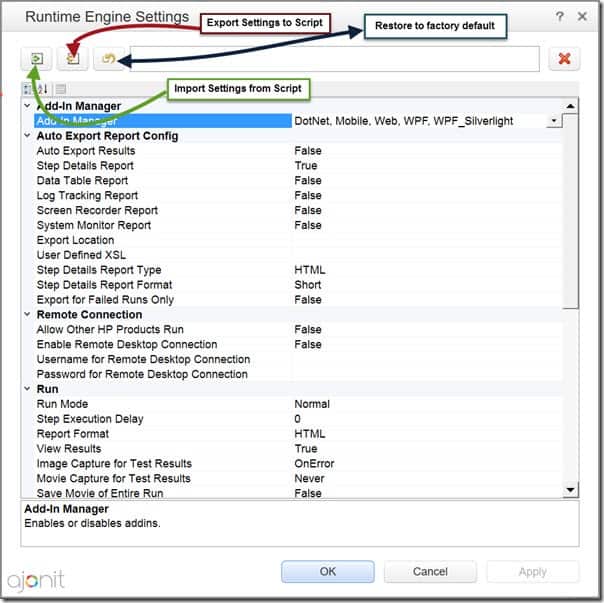
Test Batch Runner: This allows you to run multiple UFT tests in a single session. Using Add Tests from folder menu, you add the tests and create a batch file. The batch files created in UFT are created with an extension .mtb 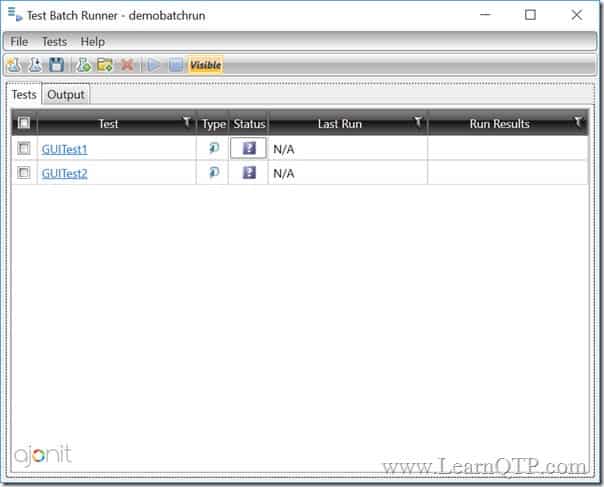
With this we come to an end of UFT Tutorial Part 2. In this tutorial we started with an introduction to UFT, covered various shortcuts on the desktop and discussed various UFT options present in Windows start-up menu.
In the next tutorial we will launch UFT tool for the first time and discuss in detail about UFT Add-ins and Add-in manager. In case you have any questions on what we have covered above, please let us know through comments section below.
You can refer the complete set of UFT tutorials covered till now using the links below:
- Tutorial 1: Introduction to software testing
- Tutorial 2: Introduction to UFT
- Tutorial 3: UFT Add-ins and Add-in Manager
- Tutorial 4: All About UFT Menus
- Tutorial 5: Complete Guide to UFT Panes
We suggest you to enter your name and email address below and we will make sure to email you as soon as the next tutorials are up and ready.

